

Understanding Acoustic Ceilings in Aussie Workspaces
Acoustic ceilings are one of the most effective ways to cut noise and echo in modern offices, classrooms and home studios. They help create a more comfortable, private and productive environment.
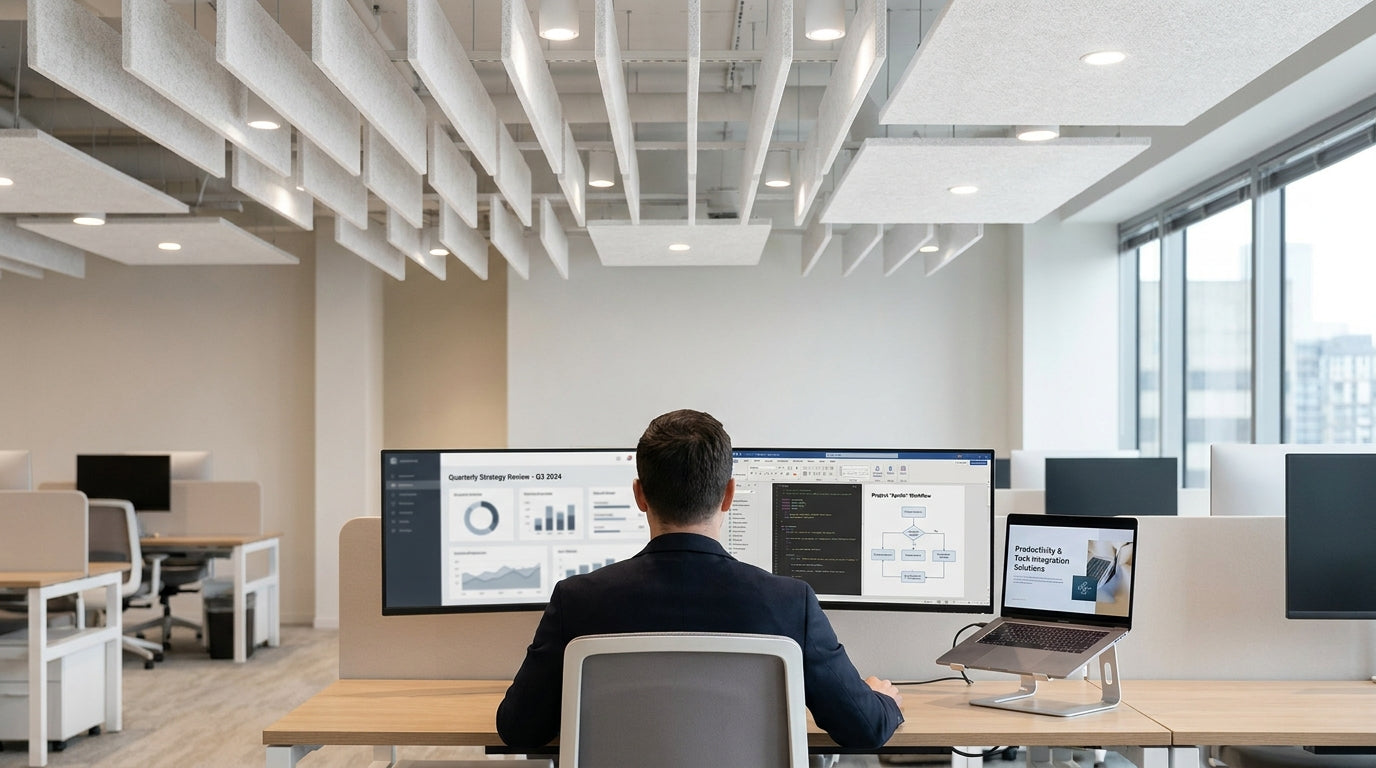
Unlike standard ceiling tiles, acoustic panels are designed to absorb sound rather than reflect it. This reduces reverberation, which is the lingering “echo” you hear in hard, open spaces. When combined with other solutions like Acoustic Wall Art and Acoustic Wall Tiles, a ceiling treatment can dramatically improve speech clarity and reduce distractions in open-plan offices.
In Australian workplaces, where polished concrete floors, glass walls and exposed services are common, poor acoustics are a frequent complaint. Acoustic ceilings help meet modern design standards while still keeping spaces comfortable and compliant with workplace health and safety requirements. They’re also ideal for video conferencing rooms, training spaces and focused work zones.
To get the most from your installation, it’s important to understand concepts like sound absorption (reducing echo) versus sound blocking (stopping sound travelling between rooms). Ceiling systems mainly handle absorption, so they’re often paired with other products such as Desk Mounted Partitions and Floor Partitions to manage noise across the whole space.
Planning Your Acoustic Ceiling Layout
Before buying panels, take time to plan your layout. The right design will save money and give far better acoustic performance.
Start by mapping out noisy zones such as collaboration areas, print hubs, call centres and breakout spaces. Measure ceiling height, identify any obstructions like lights and air‑conditioning vents, and note where you need to maintain access to services. In many offices, it makes sense to focus acoustic panels above desks and meeting tables rather than treating the entire ceiling uniformly.
Consider how the ceiling will work with other acoustic elements in the room. For example, pairing a ceiling grid with soft furnishings and Mobile Partitions can help break up sound paths in flexible spaces. In quiet rooms or small studios, combining ceiling panels with high‑absorption Acoustic Ceiling Traps in corners can significantly reduce low‑frequency build‑up that makes rooms sound “boomy”.
It’s also worth thinking about aesthetics and brand. Many acoustic tiles and baffles come in a range of colours and shapes, allowing you to coordinate with Acoustic Wall Art or feature walls. By planning your layout around work zones, traffic flow and lighting, you can create a ceiling design that looks intentional instead of “tacked on”.
Selecting the Right Acoustic Ceiling Products
The best product choice depends on your noise problems, ceiling type and budget. Look closely at performance ratings and installation requirements.
Acoustic panels and baffles are rated by their Noise Reduction Coefficient (NRC), which indicates how much sound they absorb. Higher NRC values generally mean better echo control. In a busy open-plan office, aim for medium to high NRC panels combined with workstation-level solutions such as Desk Mounted Partitions and clear Acrylic Screens to balance privacy, hygiene and communication.
If you’re dealing with specific frequency issues, such as deep rumbles from HVAC or traffic, consider adding targeted solutions like Acoustic Ceiling Traps. These are typically installed in corners or along junctions where low‑frequency sound builds up. For walls, products like Acoustic Wall Tiles give more control over reflections at ear level, working alongside your ceiling treatment to create a balanced acoustic environment.
Don’t overlook how your ceiling integrates with other partitions. In flexible offices or co‑working spaces, combining suspended acoustic panels with Floor Partitions and Mobile Partitions lets you reconfigure zones without losing noise control. If you’re building focus rooms or private meeting areas, fully enclosed Acoustic Pods can be a smart alternative to full construction, provided the ceiling and walls inside the pod are treated appropriately.
Step‑by‑Step Installation Process
Safe, effective installation is as important as the products themselves. Follow a clear process and always check local building codes.
Begin by confirming the structural capacity of your existing ceiling or roof framing. Lightweight acoustic panels are usually straightforward, but larger baffles or Acoustic Ceiling Traps may need specific fixings or extra support. Mark out your layout on the floor first, then transfer those measurements to the ceiling, allowing for lights, sprinkler heads and access panels. This prevents clashes and reduces the need for last‑minute adjustments.
Use the mounting hardware recommended by the manufacturer, whether that’s direct-fix clips, suspension cables or grid systems. Maintain consistent spacing between panels to avoid patchy performance and ensure a neat finish. If you’re coordinating with wall treatments like Acoustic Wall Tiles or decorative Acoustic Wall Art, install ceiling elements first so you can line up edges and sightlines more easily.
As you install, keep cable runs, lighting and air‑conditioning in mind. Test lighting levels once some panels are in place, as darker or denser products can slightly change how bright a room feels. Finish by checking stability of all fixings and add any required Screen Accessories or trims where ceiling panels meet vertical elements such as Floor Partitions or Acrylic Screens.
Optimising and Maintaining Your Acoustic Setup
Once installed, you can fine‑tune your space for comfort and performance. Ongoing maintenance will keep panels looking good and working well.
After staff have used the space for a few weeks, gather feedback on noise levels, privacy and concentration. If certain spots still feel loud or echoey, you may need to add more absorption at ear height using Acoustic Wall Tiles or re‑position workstations with the help of Mobile Partitions. In meeting rooms and hybrid workspaces, pairing ceiling treatment with enclosed Acoustic Pods can give teams quiet spaces for calls and focused tasks.
Routine care is usually simple: dust panels with a soft brush or vacuum attachment and spot‑clean marks according to the manufacturer’s guidelines. At the same time, check the condition of complementary solutions such as Desk Mounted Partitions, Floor Partitions and Acrylic Screens so your overall acoustic system remains effective and presentable.
As your business grows or seating plans change, you can adjust your acoustic strategy without starting from scratch. Add extra ceiling panels where new teams sit, refresh wall treatments with updated Acoustic Wall Art, or extend separation using Screen Accessories that connect existing partitions. A thoughtful combination of ceiling, wall and screen solutions will keep your Australian workspace flexible, quiet and ready for whatever comes next.


