

Understanding How Furniture Shapes Your Studio Sound
Furniture in a studio is more than décor – it actively shapes how sound behaves. The right pieces can reduce echo, control reflections, and make mixing decisions more accurate.
In any recording or mixing room, sound bounces off hard surfaces like walls, floors, desks and windows. These reflections can cause comb filtering (frequencies cancelling each other out), flutter echo (rapid pinging echoes) and awkward room resonances that colour your tracks. By combining good layout with purpose-designed acoustic elements such as desk mounted partitions and floor partitions, you can tame these issues without turning the space into a typical “egg carton” studio.
In small project studios and commercial control rooms alike, a smart mix of soft and hard furnishings helps achieve a balanced sound. Soft, porous materials absorb mid and high frequencies, while strategic use of solid surfaces preserves clarity and definition. Pairing general studio furniture with targeted products like acoustic wall tiles helps you deal with specific problem spots rather than guessing with random foam.
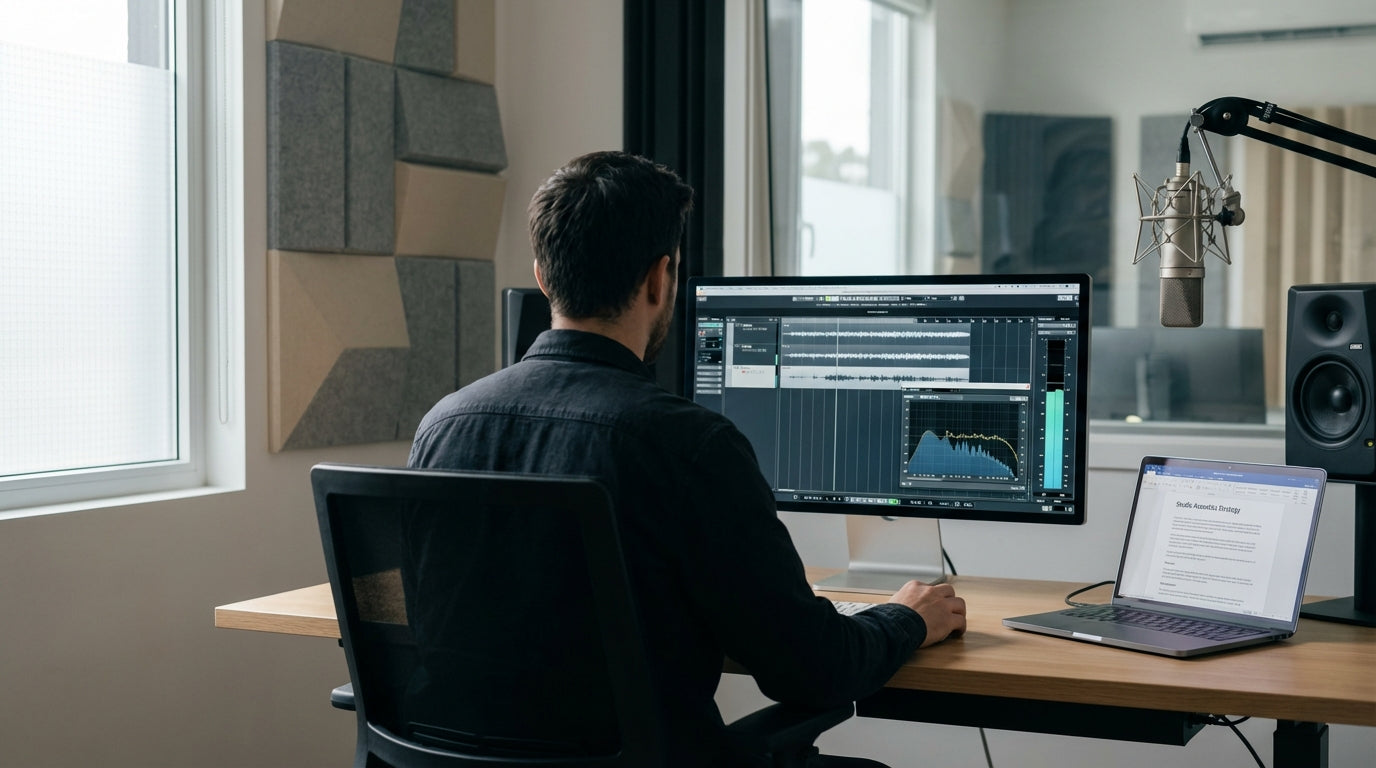
Acoustic control isn’t just about what you put on the walls; it’s also about how furniture interacts with speakers and microphones. A large reflective desk, for example, can throw early reflections straight at your ears, making it hard to trust what you’re hearing. Understanding these relationships lets you choose furniture that supports, rather than sabotages, your critical listening.
Managing Reflections and Echo with Smart Surfaces
Controlling reflections is one of the fastest ways to improve your monitoring accuracy. The aim is not to make the room completely dead, but to keep early reflections under control.
Early reflections are the first sound bounces that arrive at your ears just after the direct sound from the speakers. When they hit hard surfaces like desktops, side walls and the ceiling, they blur the stereo image and smear detail. One effective strategy is to treat the “mirror points” along the side walls and ceiling using products such as acoustic wall art and acoustic ceiling traps that double as visual features.
Desks and tables themselves should be chosen with reflections in mind. Low, deep, highly reflective worktops can cause strong comb filtering between the speakers and your ears. Combining slimmer work surfaces with nearby desk mounted partitions can help break up and absorb those reflections without blocking your screen or access to outboard gear. For client areas, adding soft furnishings and small coffee tables avoids creating a big reflective splash zone in the listening path.
Side and rear walls are often the worst offenders for flutter echo, the fast “ping” you hear when clapping in a bare room. Installing a mix of acoustic wall tiles and framed acoustic wall art turns those surfaces into controlled absorbers and diffusers. This improves clarity for both the mix position and any live performers in the room, all while keeping the space visually appealing for clients and collaborators.
Using Partitions and Pods to Control Noise Spill
Separating noisy areas from critical listening zones is crucial in modern studios. Portable furniture and modular enclosures can give you isolation without a full renovation.
Freestanding floor partitions act like movable acoustic walls, helping to block direct sound between musicians, editors and producers. They are particularly useful in open-plan offices that double as production suites, where you need to keep monitoring accurate while conversations and admin work continue nearby. For even more flexibility, mobile partitions on casters let you reconfigure the acoustic layout between tracking, mixing and podcast recording sessions.
For voiceover work, podcasting, or critical vocal tracking inside an office setting, enclosed solutions come into play. Purpose-built acoustic pods and larger office pods provide controlled isolation from surrounding noise without constructing a permanent vocal booth. These units use layered panels and seals to reduce sound transmission, keeping external distractions out of the recordings and preventing loud takes from disturbing neighbouring staff or tenants.
Partitions also help shape the room’s internal acoustics. By placing higher floor partitions behind the mix position and lower desk mounted partitions near workstations, you can dampen reflections and break up long reverb paths. When combined with ceiling treatment from acoustic ceiling traps, this creates a more even sound field across the entire studio floor, not just in the “sweet spot.”
Balancing Comfort, Aesthetics and Acoustic Performance
A studio needs to sound right, but it also has to feel inviting and look professional. Furniture choices can deliver both comfort and acoustic control when planned carefully.
Client lounges and collaboration zones often involve sofas, armchairs and low tables. While these feel relaxed, they also contribute to the sound of the room. Upholstered seating naturally absorbs some mid and high frequencies, softening the space, while smaller pieces like stylish coffee tables minimise unwanted reflections compared with large glass surfaces. Adding statement pieces of acoustic wall art brings branding and personality while quietly improving clarity and reducing echo.
From a workflow perspective, engineers and producers spend long hours at their desks. Ergonomic workstations paired with localised acoustic control – such as nearby desk mounted partitions and carefully positioned acoustic wall tiles – keep the listening environment controlled without feeling boxed in. The goal is to maintain a sense of space while subtly controlling how sound moves around screens, racks and shelving.
For multi-purpose creative spaces, you may need to swap quickly between writing sessions, mix reviews and casual meetings. Modular options like mobile partitions and reconfigurable seating allow you to tweak the acoustic feel of the room on demand. If you’re working in a broader office environment, placing office pods near the studio gives artists and clients somewhere quiet for calls and listening breaks, reducing overall noise build‑up around your control room.
Planning Your Studio Layout for Better Acoustics
Good layout is as important as good gear. A thoughtful floor plan makes every acoustic element more effective.
Start by positioning your main listening spot symmetrically in the room, away from walls and corners where bass builds up. Once that’s set, place key furniture to minimise reflections between the speakers and your ears. Desks should be low enough to avoid blocking sound, and reflective surfaces should be balanced with absorption, using tools like acoustic wall tiles and acoustic ceiling traps at the primary reflection points. This gives you a more reliable stereo image and tighter low end.
Next, divide the room into acoustic zones. Use a combination of floor partitions and mobile partitions to separate noisy gear racks, collaboration tables and relaxed seating from the critical listening triangle. In offices where production shares space with admin teams, adding desk mounted partitions and neighbouring acoustic pods can dramatically reduce spill between workstations and the studio, without major building works.
Finally, treat reflective wall areas that fall outside the immediate mix zone. Decorative acoustic wall art in corridors or client areas, combined with functional pieces like coffee tables, helps keep noise levels down as people move through the space. For larger facilities, distributing office pods throughout the floor plan encourages quiet, contained conversations instead of loud hallway chats, indirectly improving the acoustic environment in and around your recording rooms.


